
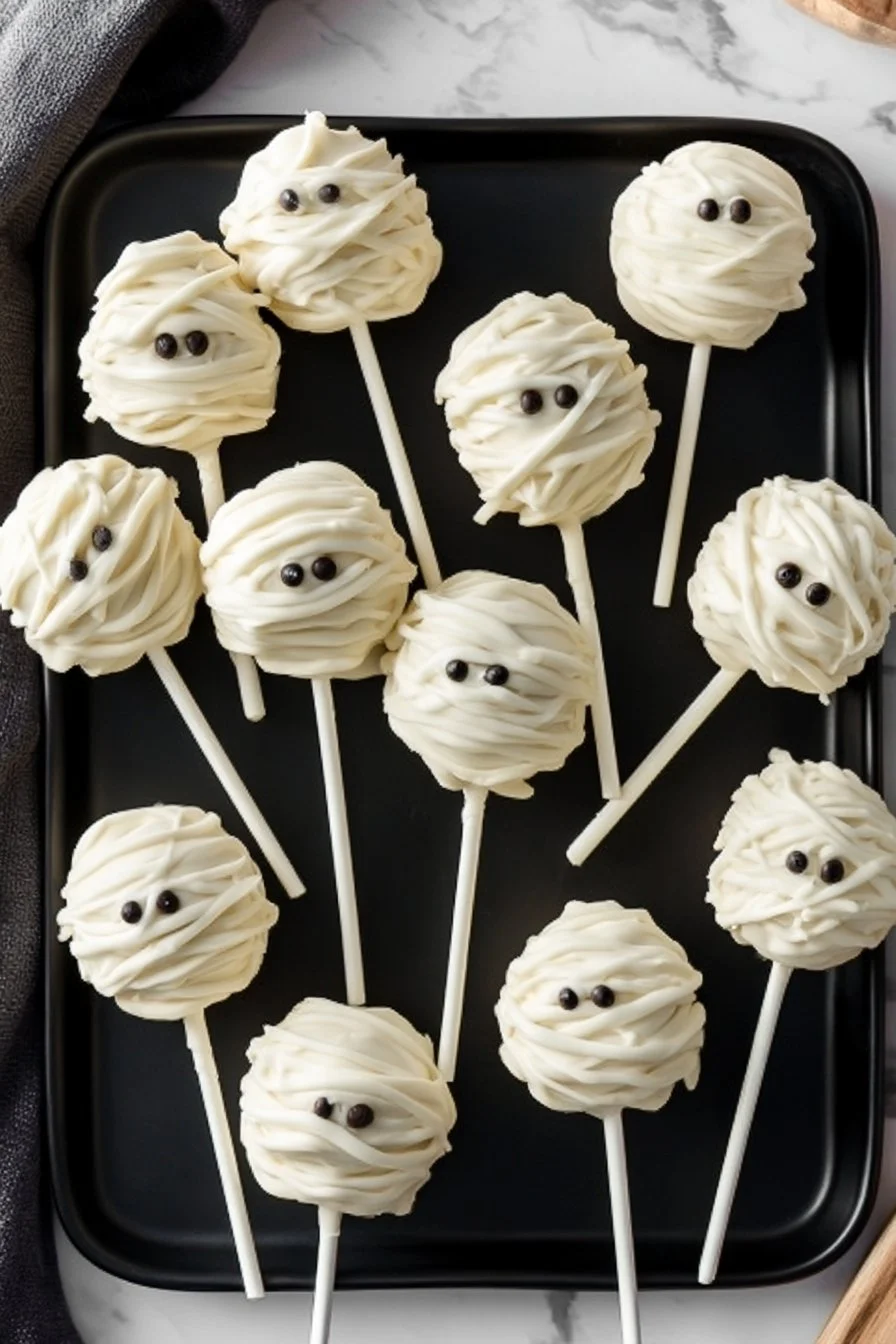
Mummy Pops are a delightful Halloween treat that is perfect for kids and adults alike. These sweet treats are not only fun to make but also visually appealing, making them an ideal addition to your Halloween festivities.
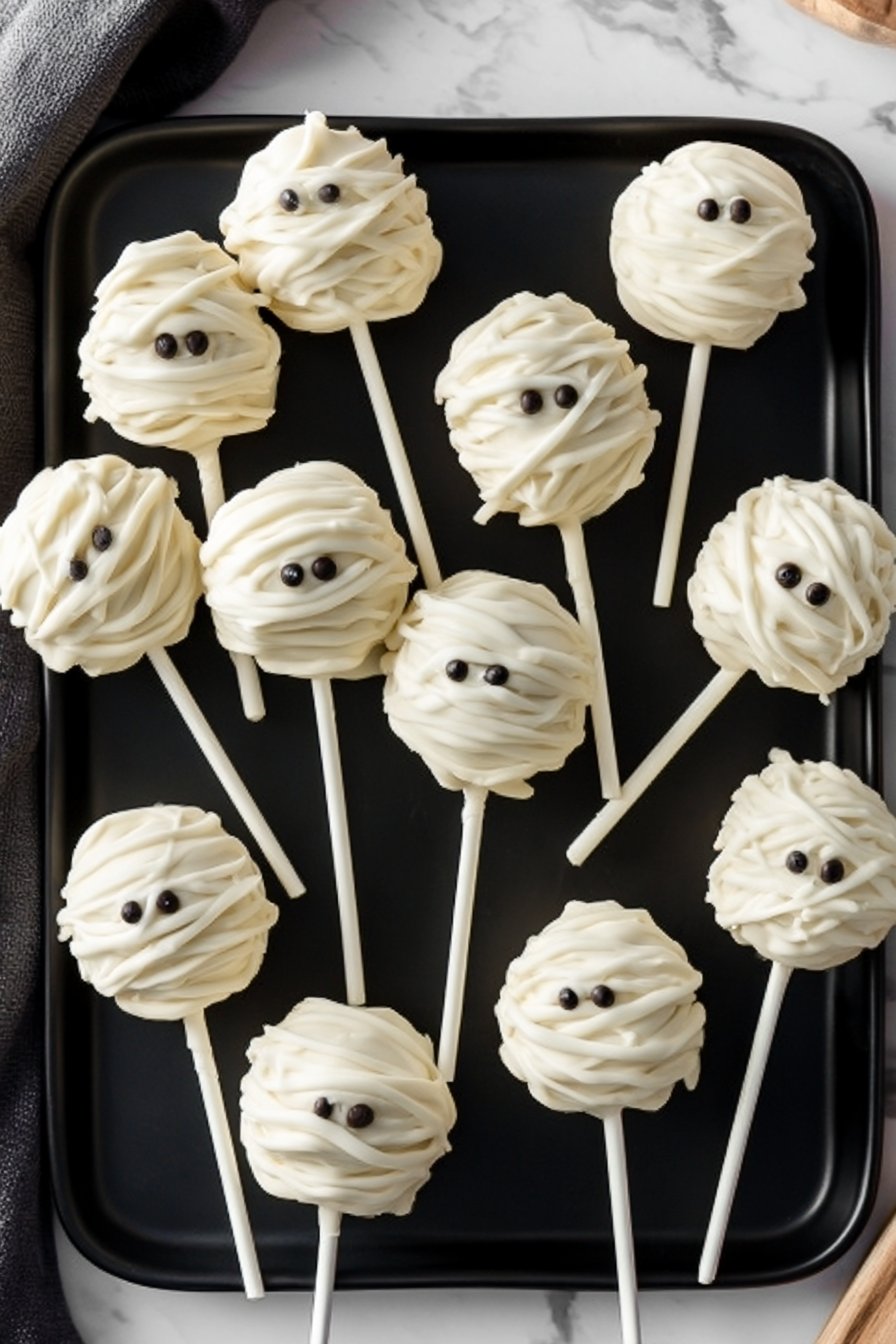
What are Mummy Pops?
Mummy Pops are essentially cake pops or cookie pops that are decorated to look like little mummies. They typically consist of a round ball of cake or cookie, coated in white chocolate or candy melts, and adorned with melting eyes and a drizzle of chocolate to mimic mummy bandages. These spooky snacks are great for parties, classroom treats, or simply to enjoy at home during the Halloween season.
Why They’re Perfect for Halloween
The making of Mummy Pops can be a fun family activity, ideal for spent quality time with loved ones. They also allow for plenty of creativity, as you can customize them in various ways, such as changing the flavors and decorating them with different types of eyes and toppings. This versatility makes Mummy Pops a favorite among culinary enthusiasts and kids who love to partake in the kitchen.
Ingredients
To create these delightful Mummy Pops, you’ll need the following ingredients:
- 1 batch of cake or cookie dough (can be store-bought or homemade)
- 1 cup of white chocolate chips (or candy melts)
- 1 cup of chocolate chips (for drizzling)
- Candy eyes (available at craft or baking supply stores)
- Lollipop sticks (optional, but recommended for pops)
- Sprinkles or edible glitter (optional for additional decoration)
Directions
Follow these straightforward steps to bring your Mummy Pops to life:
- Bake the Cake or Cookies: If you’re making cake pops, bake a cake according to your recipe or package instructions and let it cool. If you’re using cookies, bake them as directed and allow them to cool completely.
- Prepare the Cake Crumbs: For cake pops, crumble the cooled cake into a large bowl. If using cookies, crush them into fine pieces.
- Form Balls: Add a small amount of frosting (about 1/4 cup) to the crumbled cake or cookies. Mix until it is moist enough to hold together. Roll mixture into 1-inch balls and place them on a baking sheet lined with parchment paper.
- Chill: Place the balls in the freezer for about 30 minutes to firm up. This step is essential for keeping them from falling apart during coating.
- Melt the White Chocolate: While the pops are chilling, melt the white chocolate chips or candy melts in a microwave-safe bowl in 30-second increments, stirring in between, until smooth.
- Insert Sticks (if using): Remove the pops from the freezer. If you are using lollipop sticks, dip one end of each stick into melted chocolate and then insert it halfway into a cake ball. This helps the stick stay in place when coating.
- Coat the Pops: Dip each pop into the melted white chocolate until fully coated. Allow excess chocolate to drip off and place the coated pop back on the parchment paper.
- Add Eyes: While the coating is still wet, attach candy eyes onto one side of the pop. You can use a bit of melted chocolate on the back of the eyes to help them stick.
- Drizzle for Mummy Wraps: Melt the chocolate chips for drizzling (using the same method as before). With a fork or piping bag, drizzle the melted chocolate over the pop to create “bandages.”
- Let Set: Allow the Mummy Pops to set at room temperature or in the refrigerator until the chocolate is completely hard.
- Decorate: If desired, sprinkle edible glitter or additional toppings to give your Mummy Pops a more festive look.
- Serve and Enjoy: Once set, your Mummy Pops are ready to be enjoyed! Serve them on a platter for your Halloween gathering or package them as sweet treats for friends.
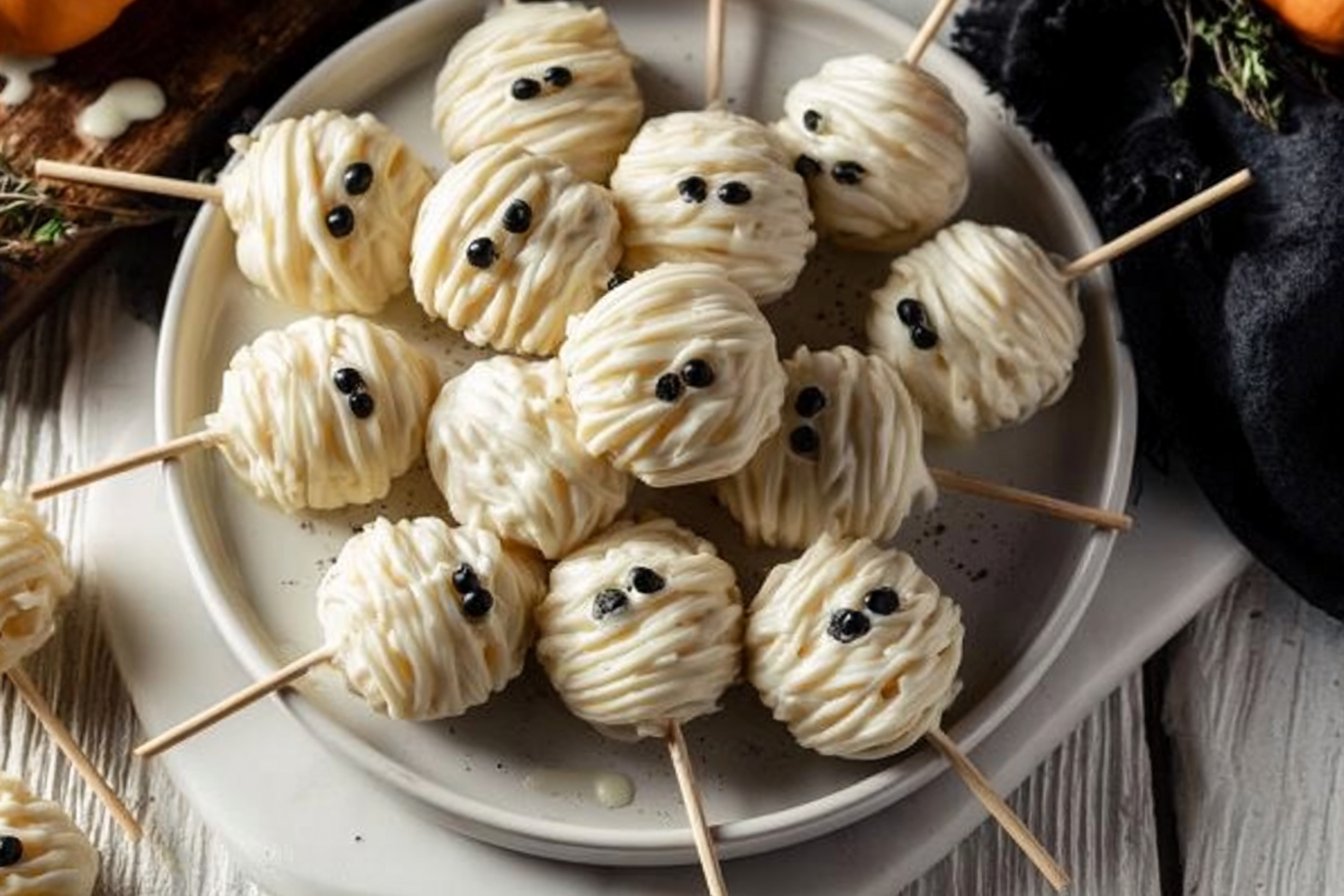
Mummy Pop Variations
While the classic Mummy Pop is a crowd-pleaser, there are numerous variations you can explore:
Flavor Variations
- Chocolate Cake Pops: Use chocolate cake for a richer flavor.
- Red Velvet Pops: Add a pop of color by using red velvet cake and white chocolate.
- Lemon Sugar Cookies: For a refreshing twist, use lemon-flavored cookies.
Coating Options
- Colored Melts: Dip your pops in colored candy melts (like orange or green) for a unique festive appearance.
- Chocolate Coating: Instead of white chocolate, consider chocolate coating for a different flavor profile.
Decorative Touches
- Sprinkles: Add Halloween-themed sprinkles to enhance their festive look.
- Nuts: Use crushed nuts for added texture or a different flavor.
Storing Mummy Pops
If you have leftover Mummy Pops or wish to prepare them in advance, proper storage is key. Keep them stored in an airtight container in a cool place, preferably in the fridge. They should stay fresh for up to one week. If storing for longer, consider freezing the cake balls before coating. They can be frozen for up to three months, allowing you to easily make Mummy Pops whenever the mood strikes!
Conclusion
Mummy Pops are a fun, creative, and delicious way to embrace the Halloween spirit. Whether you’re a seasoned baker or a beginner, you’ll find joy in making these mummy-themed treats. With endless variations and the option to personalize them, Mummy Pops stand out as a must-try treat this Halloween season. Gather your ingredients, invite friends or family into your kitchen, and enjoy crafting these spooky delights together!
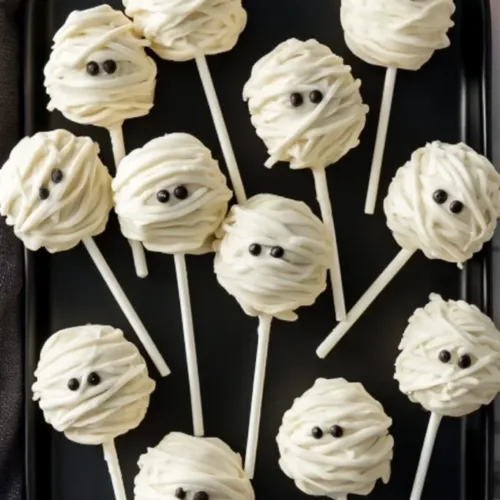
Mummy Pops
Ingredients
For the Mummy Pops
- 1 batch cake or cookie dough (can be store-bought or homemade)
- 1 cup white chocolate chips (or candy melts) For coating
- 1 cup chocolate chips For drizzling
- as needed candy eyes Available at craft or baking supply stores
- as needed lollipop sticks Optional, but recommended for pops
- as needed sprinkles or edible glitter Optional for additional decoration
Instructions
Preparation
- Bake the cake or cookies according to your recipe or package instructions and let them cool.
- Crumble the cooled cake into a large bowl or crush the cookies into fine pieces.
- Add a small amount of frosting (about 1/4 cup) to the crumbled cake or cookies and mix until moist enough to hold together.
- Roll the mixture into 1-inch balls and place them on a baking sheet lined with parchment paper.
- Chill the balls in the freezer for about 30 minutes to firm up.
- While the pops are chilling, melt the white chocolate chips or candy melts in a microwave-safe bowl in 30-second increments, stirring in between until smooth.
Coating and Decorating
- Remove the pops from the freezer. If using lollipop sticks, dip one end of each stick into melted chocolate and insert it halfway into a cake ball.
- Dip each pop into the melted white chocolate until fully coated, allowing excess chocolate to drip off before placing it back on parchment paper.
- While the coating is still wet, attach candy eyes onto one side of the pop using a bit of melted chocolate to help them stick.
- Melt the chocolate chips for drizzling using the same method as before and drizzle over the pop to create 'bandages.'
- Allow the Mummy Pops to set at room temperature or in the refrigerator until the chocolate is completely hard.
- If desired, sprinkle edible glitter or additional toppings for a festive look.
Serving
- Once set, your Mummy Pops are ready to be enjoyed! Serve them on a platter for your Halloween gathering or package them as sweet treats for friends.