
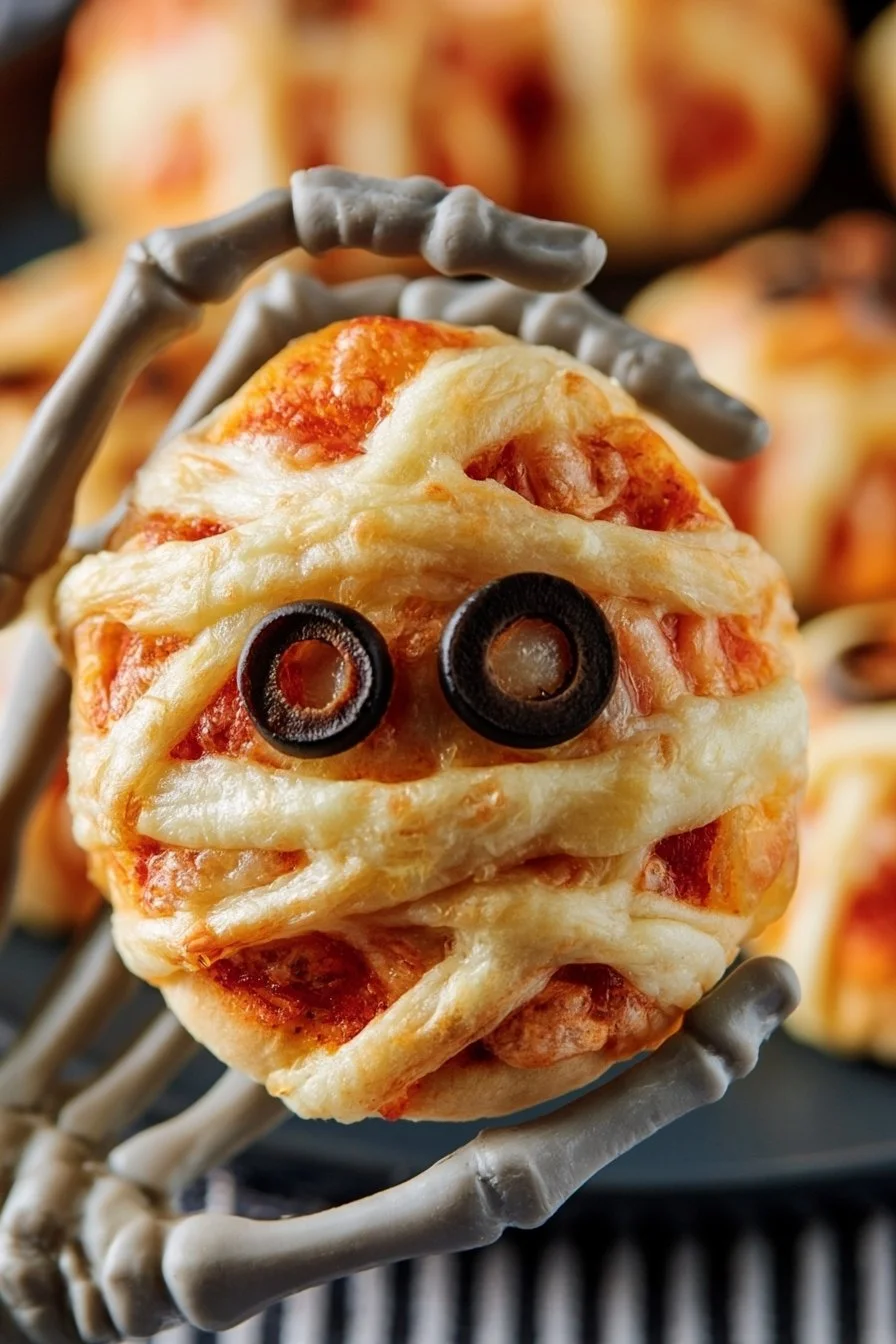
Mini Mummy Pizzas are a fun, festive treat perfect for Halloween or any spooky-themed gathering. These cute little pizzas are not only delicious but also make for an entertaining cooking project with kids. With creative toppings that resemble mummies, they bring a dash of flair to any party spread. Let’s dive into the details of making these delightful morsels.
Ingredients
- 1 package of refrigerated pizza dough or pre-made mini pizza crusts
- 1 cup pizza sauce
- 2 cups shredded mozzarella cheese
- 1/2 cup sliced black olives
- Slices of pepperoni or your choice of toppings
- 1 egg (for egg wash, optional)
- Fresh basil or parsley for garnish (optional)
Directions
- Preheat the Oven: Begin by preheating your oven to 400°F (200°C). This ensures that your Mini Mummy Pizzas bake evenly and come out perfectly crispy.
- Prepare the Dough: If you’re using refrigerated pizza dough, roll it out on a lightly floured surface to about 1/4 inch thick. If you have pre-made mini pizza crusts, this step can be skipped.
- Cut Out Shapes: Using a pizza cutter or a knife, cut your dough into rectangles or oval shapes. These will serve as the base of your mummy pizzas.
- Add Sauce: Place the shapes on a baking sheet lined with parchment paper. Spread a generous tablespoon of pizza sauce on each piece of dough, leaving a small border around the edges for the crust.
- Apply Cheese: Sprinkle a handful of shredded mozzarella cheese over the sauce. To create a mummy look, you can either layer the cheese haphazardly to mimic mummy wrappings or leave part of the sauce exposed for a more dramatic effect.
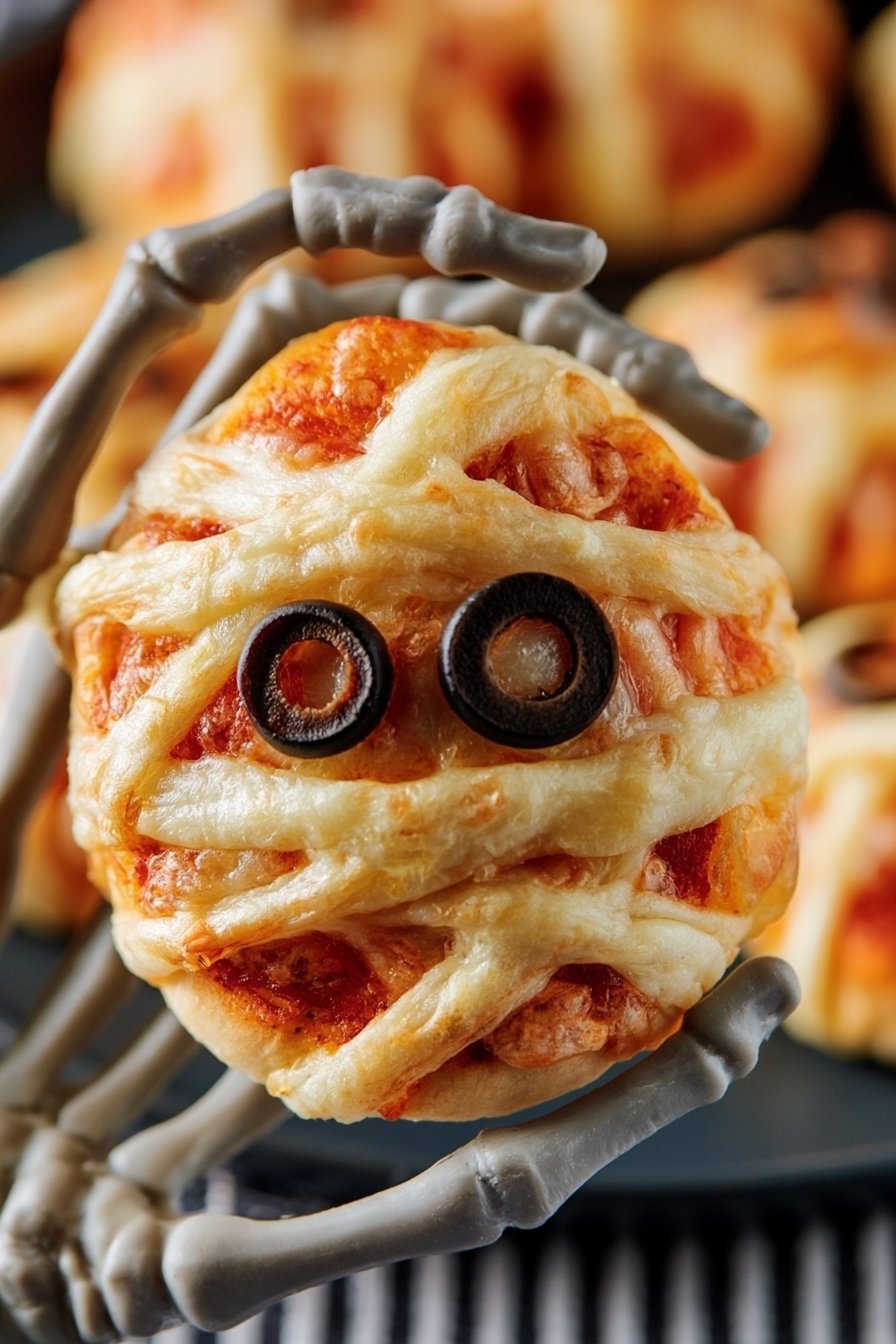
- Create the Mummy Face: For the eyes, place two slices of black olives on top of the cheese. If you prefer, you can use small pieces of pepperoni or more cheese to create custom faces.
- Optional Egg Wash: If you want a shiny, golden crust, beat an egg in a small bowl and brush it over the edges of the pizza dough.
- Bake: Place the baking sheet in the preheated oven and bake for 12-15 minutes, or until the crust is golden brown and the cheese is melted and bubbly.
- Garnish: Once your Mini Mummy Pizzas are out of the oven, let them cool for a few minutes before garnishing with fresh basil or parsley for an added touch of color.
- Serve and Enjoy: These Mini Mummy Pizzas are best enjoyed warm, and they’re sure to be a hit at any Halloween party or get-together!
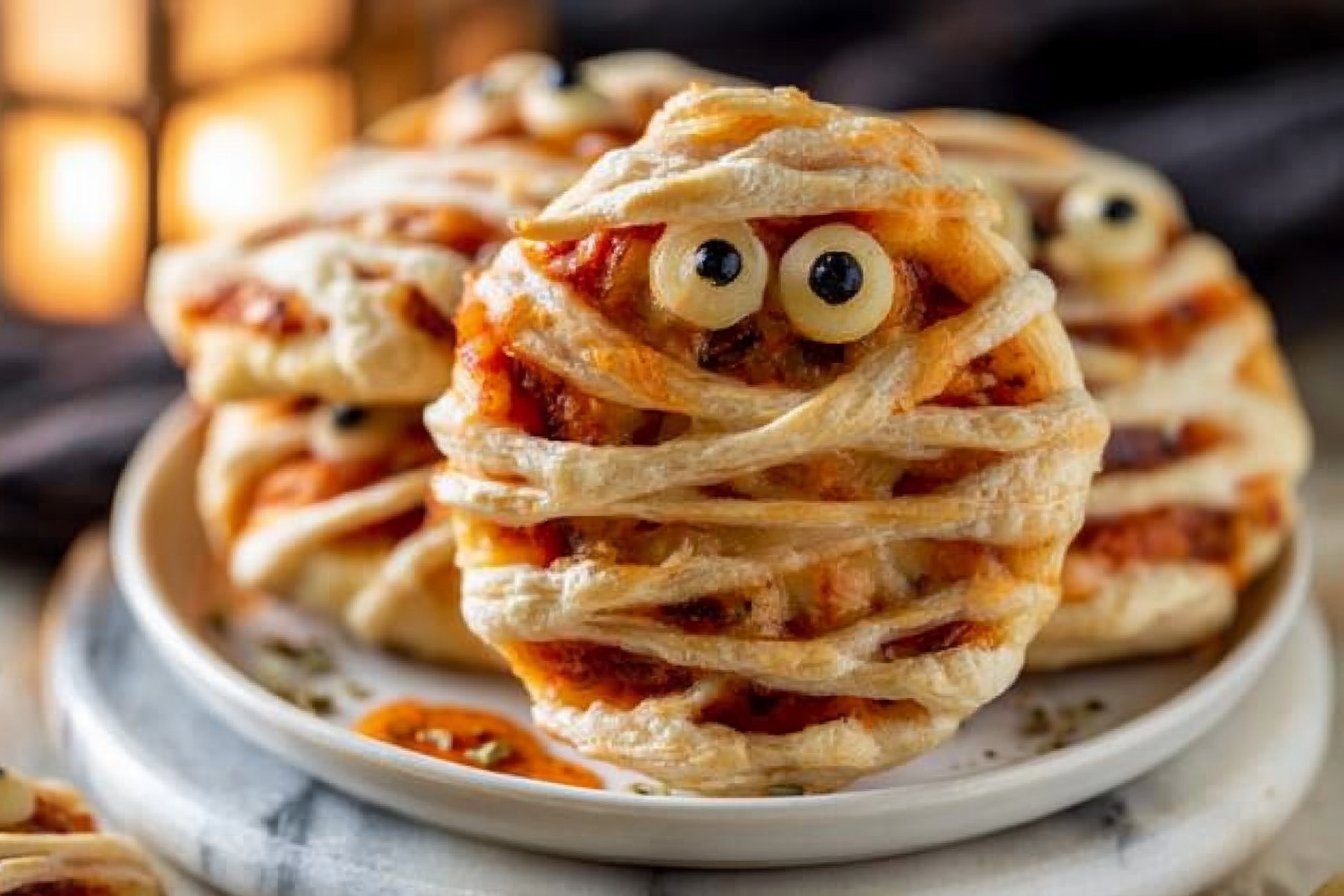
Tips for Perfect Mini Mummy Pizzas
Choose Your Dough Wisely
- Using refrigerated pizza dough allows for more flexibility in size and shape. However, if you’re short on time, pre-made mini crusts save time without compromising flavor.
Experiment with Toppings
- Feel free to customize your pizzas with different toppings! Add veggies like bell peppers, mushrooms, or even pineapple for a twist. The key is to keep the toppings small enough to not outweigh the fluffy crust.
Make it a Family Activity
- This recipe is perfect for family cooking nights. Let kids shape their pizzas and choose their own toppings — a great way to get them excited about cooking!
Storing Leftovers
- If you have any leftovers (which is unlikely!), store them in an airtight container in the refrigerator. Reheat them in an oven or toaster oven for best results.
Fun Variations of Mini Mummy Pizzas
Veggie Mummy Pizzas
- For a healthier alternative, use whole wheat dough and top with lots of colorful vegetables. Not only will the mini pizzas look amazing, but they will also add nutrients to your meal.
Sweet Mummy Pizzas
- Create a dessert version by using sweet ingredients like Nutella or cream cheese as the base, topped with banana slices and chocolate chips to create a spooky treat.
Mini Mummy Flatbreads
- Use flatbreads instead of pizza dough for an even quicker option. They cook faster and give a nice crispy texture that complements the toppings well.
Mummy Pizza Bites
- Cut the dough into smaller circles for bite-sized treats. These are perfect for skewers for party platters and fun finger food!
Conclusion
Mini Mummy Pizzas are not just a tasty treat; they are also an excellent way to get creative in the kitchen. Whether you’re hosting a Halloween gathering or just looking for a fun family activity, these pizzas will delight every palate. So gather your ingredients and get ready to whip up these spooky yet scrumptious Mini Mummy Pizzas that everyone will love!
Mini Mummy Pizzas
Fun and festive Mini Mummy Pizzas are perfect for Halloween gatherings, offering a delightful cooking project for kids with creative, spooky toppings.
Ingredients
Dough Base
- 1 package refrigerated pizza dough or pre-made mini pizza crusts Choose according to availability.
Toppings
- 1 cup pizza sauce
- 2 cups shredded mozzarella cheese Use to create the mummy look.
- 1/2 cup sliced black olives For creating the mummy eyes.
- to taste slices of pepperoni or your choice of toppings Customize to your liking.
- 1 whole egg (for egg wash, optional) Optional for a shiny crust.
- to taste fresh basil or parsley for garnish (optional)
Instructions
Preparation
- Preheat your oven to 400°F (200°C).
- If using refrigerated pizza dough, roll it out on a lightly floured surface to about 1/4 inch thick.
- Cut the dough into rectangles or oval shapes with a pizza cutter or knife.
- Place the shapes on a baking sheet lined with parchment paper.
- Spread a generous tablespoon of pizza sauce on each piece of dough, leaving a small border for the crust.
Topping
- Sprinkle shredded mozzarella cheese over the sauce, layer haphazardly or leave some sauce exposed for a dramatic effect.
- For the eyes, place two slices of black olives on top of the cheese. Customize with more toppings like pepperoni.
- If desired, beat an egg and brush it over the edges of the pizza dough for a shiny crust.
Baking
- Bake the pizzas in the preheated oven for 12-15 minutes, until the crust is golden brown and the cheese is melted.
- Allow the pizzas to cool for a few minutes before garnishing with fresh basil or parsley.
Serving
- Serve warm and enjoy these delightful Mini Mummy Pizzas at your Halloween party!
Notes
Experiment with different toppings like bell peppers or mushrooms for variety. Perfect for a fun family cooking night. Store leftovers in an airtight container in the refrigerator.