A perfectly baked pie starts with the crust, the foundation of any great dessert. But what happens if you don’t pre-bake pie crust? Pre-baking, also known as blind baking, is an essential step for certain pies, ensuring the crust stays crisp and firm instead of soggy. This technique is especially critical for pies with creamy, custard, or no-bake fillings, making it a must know for any baker.
Consequences of Not Pre-Baking Pie Crust
When you skip the pre-baking step for a pie crust, it can lead to several undesirable outcomes that affect both the texture and overall success of your pie. The most common issues include soggy bottoms, undercooked crusts, and a lack of structural integrity.
Potential for Soggy Bottoms and Undercooked Crusts
One of the primary problems with not pre-baking your crust is the “soggy bottom” phenomenon. This occurs when the moisture from the filling seeps into the unbaked dough, preventing it from setting properly. The result is a soft, mushy layer that detracts from the pie’s intended texture.
This issue is particularly prevalent in pies with wet fillings, such as custards or fruit pies. Without pre-baking, the crust doesn’t have enough time to develop a firm, golden base before being inundated with the filling’s moisture. Additionally, the lower layer of the pie often remains undercooked because it doesn’t receive sufficient heat to crisp up during the baking process.
Impact on Overall Pie Texture and Structural Integrity
Beyond aesthetics, skipping pre-baking can compromise the structural integrity of your pie. A soft, undercooked crust struggles to support heavy or dense fillings, leading to sagging or breaking when sliced. Furthermore, the contrast between a crisp crust and the creamy or fruity interior is an essential part of a pie’s appeal. Without pre-baking, this textural balance is lost, leaving the entire dessert feeling flat and unremarkable.
Types of Pies That Require Pre-Baking
Pre-baking, or blind baking, is an essential step for certain types of pies where the crust needs to be fully or partially baked before adding the filling. This is particularly true for pies with cream, custard, or other no-bake fillings that require minimal or no time in the oven. Pre-baking ensures that the crust is fully cooked, crisp, and sturdy enough to support these softer fillings without turning soggy.
Cream Pies and Custard Pies
Cream pies, like banana cream or chocolate cream pies, rely on pre-baking because their fillings are typically cooked on the stovetop or set in the refrigerator. Similarly, custard based pies, such as lemon meringue or key lime, may require pre-baking to prevent the filling’s moisture from soaking into the crust. In both cases, a crisp, well baked crust forms a flavorful contrast to the smooth, rich filling.
Other No-Bake Fillings
No-bake pies, like chilled mousse pies or no-bake cheesecakes, also demand a pre-baked crust. Since these pies are never heated, the crust must be baked ahead of time to achieve the proper texture and strength.
By pre-baking for these pie types, bakers can ensure their crusts stay crisp, maintain their shape, and complement the filling, resulting in a pie that looks and tastes just right.
Situations Where Pre-Baking Is Unnecessary
While pre-baking is crucial for certain types of pies, there are instances where it can be skipped without compromising the quality of the crust. This is especially true for fruit pies and pies with fillings that require long baking times, as these fillings naturally provide the heat and time needed to cook the crust thoroughly.
Fruit Pies and Long Baking Times
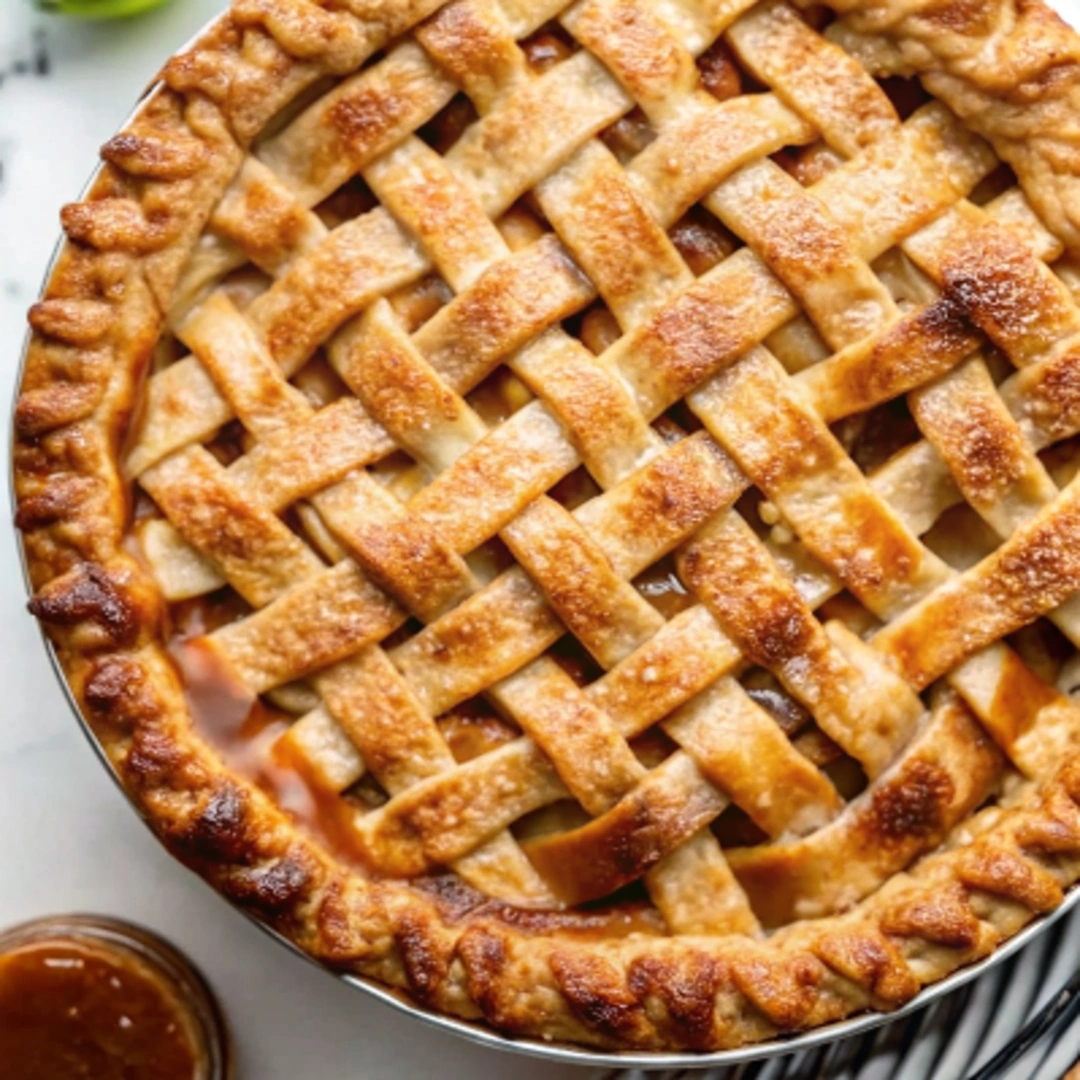
Fruit pies, such as apple, peach, or berry pies, typically don’t require pre-baking because their baking times are sufficient to cook both the crust and filling simultaneously. As the filling releases its juices and bakes, the prolonged oven exposure allows the crust to crisp up and achieve a golden brown color. The top crust or lattice covering the filling also contributes to the even distribution of heat, helping the bottom crust bake evenly.
Fillings That Cook the Crust
Certain fillings, like those in meat pies or pot pies, also eliminate the need for pre-baking. These fillings tend to have a thicker, less watery consistency, reducing the risk of the crust becoming soggy. The extended cooking time for these hearty pies ensures that the crust bakes fully without requiring pre-baking.
In such cases, skipping pre-baking not only saves time but also avoids over-baking or drying out the crust, resulting in a perfectly balanced pie.
Step-by-Step Guide to Pre-Baking a Pie Crust
Pre-baking, or blind baking, a pie crust is a straightforward process that ensures a crisp, firm base for your pie. Follow these steps to achieve the perfect crust every time.
1. Preparing the Dough and Lining the Pie Dish
Begin by preparing your pie dough. Roll it out evenly on a lightly floured surface to your desired thickness, usually about 1/8 inch. Transfer the rolled dough into your pie dish, gently pressing it into the corners and along the sides. Trim any excess dough, leaving a slight overhang to account for shrinkage. For decorative edges, crimp the edges with your fingers or a fork.
Chill the lined pie dish in the refrigerator for at least 30 minutes, or 15 minutes in the freezer. This step firms up the fat in the dough, reducing shrinkage and preventing the crust from puffing up during baking.
2. Using Weights and Preventing Shrinkage
To maintain the shape of the crust, line it with parchment paper or aluminum foil, ensuring it covers the entire surface. Fill the lined crust with pie weights, such as ceramic weights, dried beans, or uncooked rice. The weights hold the dough in place and prevent bubbling or puffing.
3. Timing and Temperature Considerations
Preheat your oven to 375–400°F (190–200°C). Bake the crust with weights for about 15–20 minutes, or until the edges start to turn golden. Carefully remove the weights and parchment paper, then bake for an additional 5–10 minutes to brown the bottom.
These steps will result in a beautifully crisp and even crust, ready for any filling.
Common Mistakes in Pre-Baking and How to Avoid Them
Pre-baking a pie crust is a key step in many recipes, but common mistakes can undermine your efforts. Understanding these pitfalls and how to avoid them ensures a perfectly baked crust every time.
For a unique take on crust alternatives, try this Tortilla Quiche Bake, which uses tortillas instead of traditional pie crust, eliminating the need for pre-baking altogether.
1. Over Baking or Under Baking the Crust
One frequent issue is not baking the crust for the correct amount of time. Over baking can result in a crust that is too dark or hard, detracting from the pie’s texture and flavor. On the other hand, under baking leaves the crust pale, soft, and unable to support the filling.
Solution: Always monitor your crust closely during baking. Follow recipe instructions for timing and temperature, but keep an eye on visual cues. For partial baking, the crust should look lightly golden around the edges, while a fully baked crust should be evenly browned.
2. Improper Use of Weights Leading to Bubbling or Misshapen Crusts
Another common problem arises from improper use of pie weights. If weights are not distributed evenly or omitted altogether, the crust may puff up, bubble, or shrink during baking, leading to an uneven surface.
Solution: Line the crust with parchment paper or aluminum foil before adding weights. Ensure the weights cover the entire surface and press lightly to keep the dough in place. Chill the lined crust before baking to further minimize shrinkage.
By addressing these common mistakes, you can achieve a well baked, flawless pie crust every time.
Alternatives to Pre-Baking
While pre-baking is often recommended for pies with wet or no-bake fillings, there are alternatives that can save time or achieve similar results without requiring a fully or partially baked crust. These methods are particularly useful for simplifying the pie making process while still ensuring a crisp and firm crust.
1. Using Cookie Crumb Crusts
Cookie crumb crusts, such as those made from graham crackers, digestive biscuits, or Oreo cookies, are a popular alternative to traditional pie dough. These crusts are created by blending cookie crumbs with melted butter and pressing the mixture into a pie dish. In many cases, these crusts don’t require pre-baking; instead, they are chilled to set the butter, which acts as a binding agent.
These crusts are ideal for no-bake pies, like cheesecakes or mousse pies, as their texture complements creamy fillings without becoming soggy.
2. Employing Protective Layers
For traditional pie dough, adding a protective layer can eliminate the need for pre-baking. Brushing the raw crust with an egg wash before filling creates a barrier that helps prevent moisture from seeping in. Another option is to brush the crust with melted chocolate or a thin layer of jam, which hardens and acts as a sealant once cooled.
FAQs
1. Is it necessary to pre-bake pie crust?
Pre-baking a pie crust is necessary in certain situations, particularly for pies with fillings that don’t require extended baking times. Examples include cream pies, custard pies, and other no-bake fillings. Pre-baking ensures the crust is fully cooked, crisp, and sturdy enough to support the filling without becoming soggy. However, for pies with fillings that bake for a long time, like fruit pies, pre-baking is typically unnecessary because the extended baking time allows the crust to cook thoroughly along with the filling.
2. What happens if you don’t blind bake a pie?
If you skip blind baking, the most common outcome is a soggy or undercooked crust. This happens because wet fillings, such as custards or creamy mixtures, can release moisture that soaks into the crust. The result is a pie with an unappetizing texture and a lack of the crisp, flaky base that is essential to balance the filling. Additionally, the crust may not hold its shape properly, leading to a less visually appealing dessert.
3. Can you bake a pie without baking the crust first?
Yes, certain types of pies, such as fruit pies and meat pies, can be baked without pre-baking the crust. These pies typically have fillings that require longer baking times, allowing the crust and filling to cook simultaneously. However, it’s important to follow the recipe carefully and ensure the pie is baked long enough to avoid an undercooked crust.
4. What happens if you don’t refrigerate pie crust before baking?
If you skip refrigerating the pie crust before baking, the dough is more likely to shrink, lose its shape, or become tough. Refrigeration firms up the fats in the dough, which helps create a flaky texture and maintains the crust’s structure during baking. Warm dough is harder to handle and can result in a less successful final product. Chilling the dough is a simple but essential step for achieving professional quality results.
Pre-baking a pie crust is a crucial step for achieving a perfectly crisp and stable base, especially for pies with wet or no-bake fillings. While it may seem like an extra effort, this technique ensures your pie has the right texture, structural integrity, and balance between the crust and filling. Skipping pre-baking often leads to soggy bottoms, undercooked dough, and a less satisfying pie overall.
2 thoughts on “What Happens If You Don’t Pre-Bake Pie Crust?”