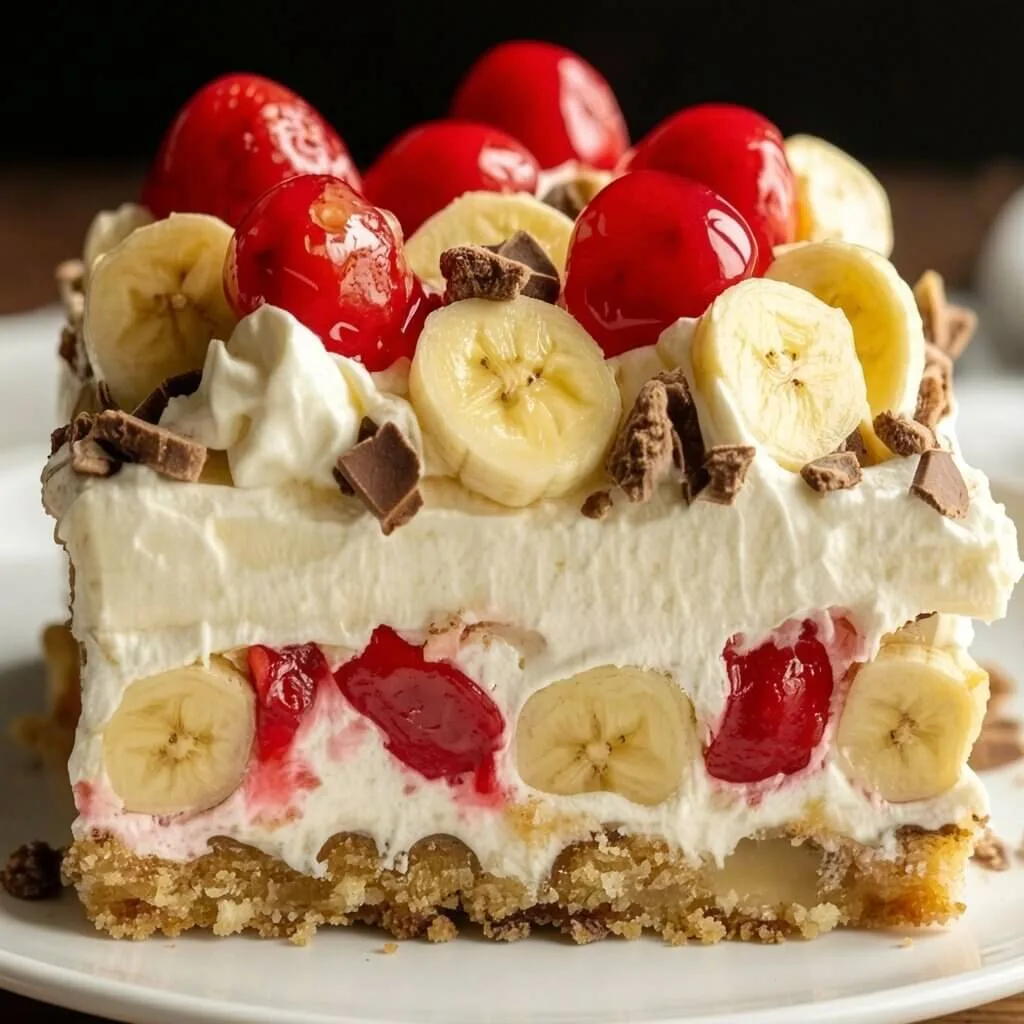
Bringing the ultimate fountain-shop experience right to your kitchen counter doesn’t require standing over a hot stove or scooping ice cream that melts before everyone can sit down. This incredible No-Bake Banana Split Cake transforms all the iconic flavors of a classic ice cream parlor sundae into a gorgeous, sliceable layered dessert. By combining a buttery graham cracker crust with smooth cream cheese, fresh fruit, and fluffy whipped topping, you achieve an absolute show-stopper with zero actual baking required.
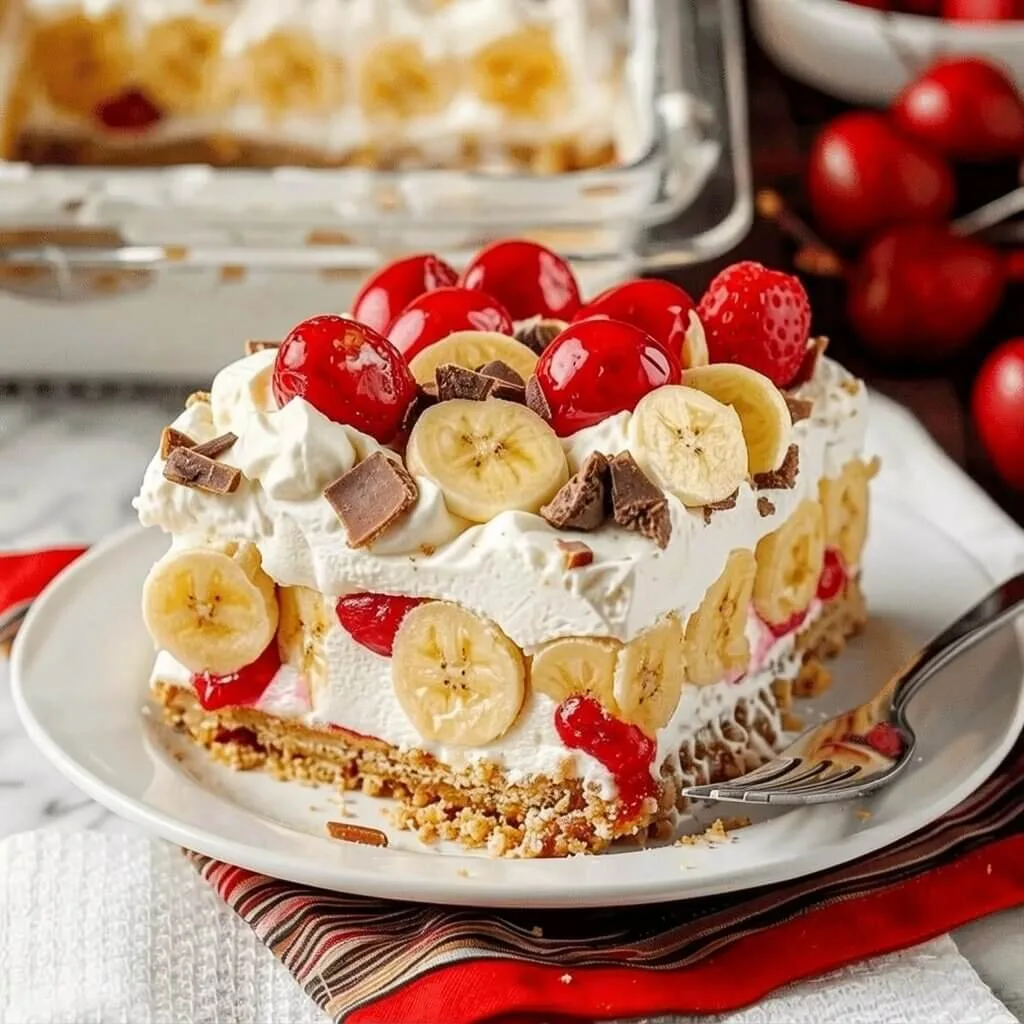
Instead of rushing to serve individual ice cream bowls, this smart refrigerator dessert allows you to prep everything ahead of time in a single dish. As the cake chills, the graham cracker foundation locks in the sweetness of the fruit, ensuring every single slice is beautifully uniform, rich, and loaded with nostalgia.
Whether you are looking to cool down a summer block party or need a fun, crowd-pleasing dessert to surprise your household after Sunday dinner, this effortless dessert delivers maximum flavor with practically no kitchen stress.
Why This Layered Sundae Dessert Works So Well
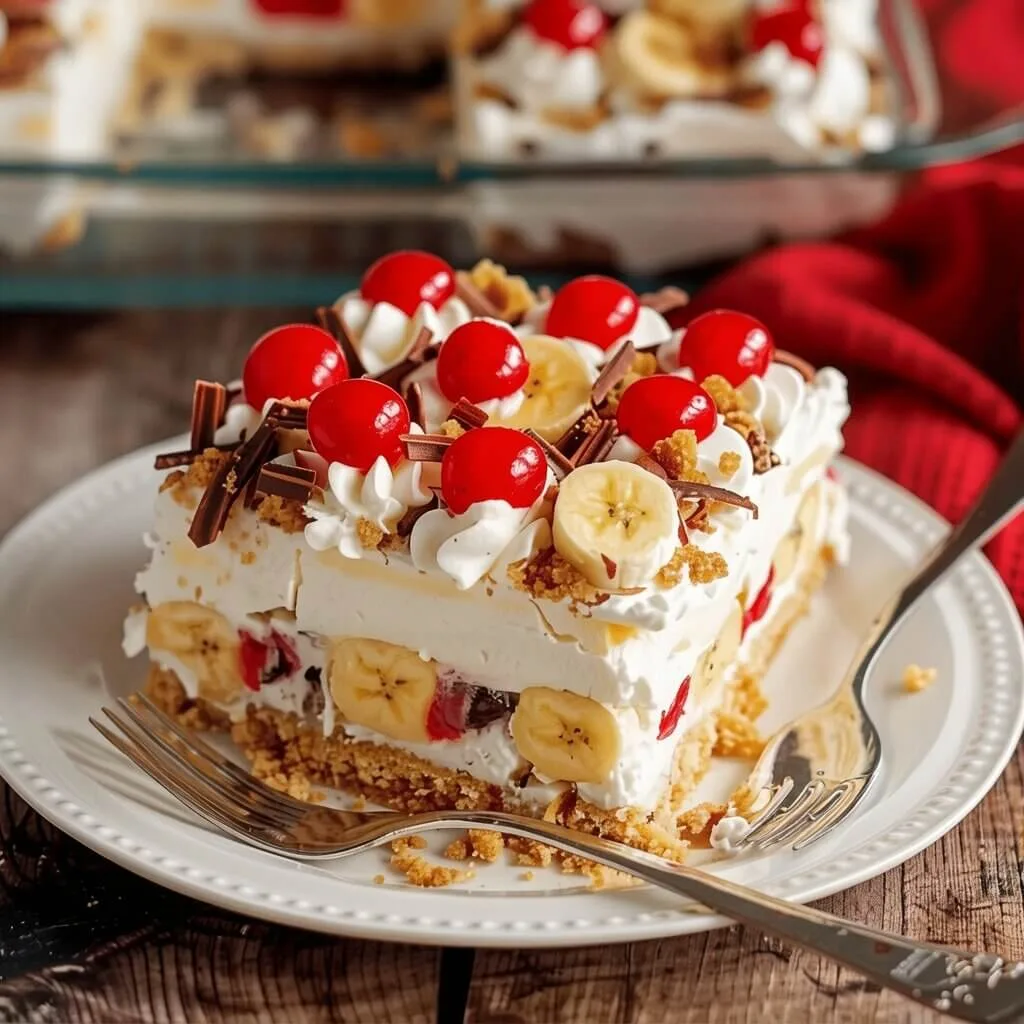
The absolute brilliance of this dessert lies in its clever textural design and heat-free assembly. Traditional fruit pies and cakes require precise oven times and cooling phases to prevent a soggy center. This recipe completely bypasses the oven by utilizing a stable cream cheese and whipped cream custard that acts as an impenetrable shield, keeping the layers of fresh bananas, sweet pineapple, and juicy strawberries cleanly separated.
Additionally, this dessert serves as a fantastic prep-ahead lifesaver for busy hosts. Because the layers actually need time to settle and chill in the refrigerator, it tastes even better when made a full day in advance. You get a towering, bakery-level masterpiece completely ready to serve straight out of the fridge.
Finally, the customizable toppings make it an absolute favorite for entertaining. You can stick to the timeless soda-fountain toppings or let your family scatter their own favorite additions like extra crushed nuts, a heavy drizzle of caramel sauce, or a mountain of rainbow sprinkles turning dessert time into a fun, interactive party!
Essential Ingredients
You only need a handful of familiar grocery staples and fresh summer fruit to build this stunning, multi-layered treat.
-
The Buttery Crust: 2 cups of graham cracker crumbs, 1/4 cup of granulated sugar, and 1/2 cup (1 stick) of unsalted butter, completely melted.
-
The Creamy Center: 1 block (8 oz) of cream cheese (softened completely to room temperature), 1/2 cup of unsalted butter (softened), and 2 cups of powdered sugar.
-
The Fruit Layers: 3 large ripe bananas (sliced into thin rounds), 1 can (20 oz) of crushed pineapple (thoroughly drained to remove excess liquid), and 1.5 cups of fresh strawberries (hulled and sliced).
-
The Fluffy Cloud: 1 tub (12 oz) of whipped topping (thawed), or 3 cups of freshly whipped heavy cream.
-
The Fountain Toppings: 1/2 cup of chopped walnuts or pecans, 1/4 cup of chocolate syrup (or hot fudge), and a handful of maraschino cherries (patted dry) for the ultimate finish.
Step-by-Step Instructions
-
Construct the Crust: In a medium bowl, toss the graham cracker crumbs, granulated sugar, and melted butter together until the mixture resembles wet sand. Press the crumbs firmly and evenly into the bottom of a 9×13-inch baking dish to form a sturdy base. Place the dish in the freezer for 10 minutes to set.
-
Whip the Filling: In a large mixing bowl, combine the softened cream cheese, softened butter, and powdered sugar. Use a hand mixer to beat the ingredients vigorously for 2 to 3 minutes until the mixture is completely smooth, light, and free of any lumps.
-
Layer the Cream: Remove the crust from the freezer. Carefully spread the whipped cream cheese mixture evenly over the graham cracker base using an offset spatula, ensuring it covers the crust completely from edge to edge.
-
Add the Bananas: Arrange the freshly sliced banana rounds in a single, tight layer directly over the cream cheese foundation.
-
Scatter the Pineapple: Spoon the thoroughly drained crushed pineapple evenly over the banana layer. Crucial Tip: Press the pineapple in a fine-mesh strainer first to remove all excess juice, or your cake will turn watery!
-
The Strawberry Blanket: Scatter the sliced fresh strawberries uniformly across the pineapple layer.
-
Top with the Cloud: Spread the thawed whipped topping smoothly over the entire fruit layer, creating a thick, clean surface.
-
Decorate and Chill: Sprinkle the chopped nuts evenly over the top. Drizzle the chocolate syrup back and forth across the cake in beautiful zig-zag lines, then dot the surface with maraschino cherries. Cover tightly and chill in the refrigerator for at least 4 hours (or overnight) before slicing and serving cold!
Nostalgic No-Bake Banana Split Cake
Ingredients
- 2 cups graham cracker crumbs
- 1/4 cup granulated sugar
- 1/2 cup unsalted butter melted for crust
- 8 oz cream cheese softened to room temperature
- 1/2 cup unsalted butter softened for filling
- 2 cups powdered sugar
- 3 large ripe bananas sliced into rounds
- 20 oz can crushed pineapple thoroughly drained
- 1.5 cups fresh strawberries hulled and sliced
- 12 oz tub whipped topping thawed
- 1/2 cup chopped walnuts or pecans
- 1/4 cup chocolate syrup or hot fudge
- 1 for garnish maraschino cherries patted dry
Instructions
- In a medium bowl, combine the graham cracker crumbs, granulated sugar, and melted butter until evenly moistened.
- Press the crumb mixture firmly into the bottom of a 9x13-inch pan and freeze for 10 minutes to set the crust.
- In a large mixing bowl, beat the softened cream cheese, softened butter, and powdered sugar until smooth and fluffy.
- Spread the cream cheese mixture evenly over the chilled graham cracker crust.
- Arrange the sliced bananas evenly over the cream cheese layer.
- Spread the drained crushed pineapple evenly over the bananas, followed by the sliced strawberries.
- Spread the thawed whipped topping evenly over the fruit layers.
- Sprinkle the chopped nuts across the top and drizzle with chocolate syrup or hot fudge.
- Garnish with maraschino cherries.
- Cover tightly and refrigerate for at least 4 hours or overnight before slicing and serving cold.
Notes
Meal Planning & Pairing Ideas
Because this layered banana split dessert is remarkably rich, cool, and fruit-forward, it acts as the perfect sweet grand finale to a comforting, savory weeknight dinner or an outdoor family gathering.
Looking to design a well-rounded weekly menu before presenting this whimsical treat? If your household loves bold, soulful flavor profiles on rotation, start your evening with a sizzling Cajun Chicken Pasta Skillet Recipe. For an effortless, Italian-style oven bake on a busy Monday night, pair your meal prep with a simple Cheesy Marinara Chicken Bake Recipe. If you prefer a comforting Mexican-style grain dish, a pan of Chicken Enchilada Rice Casserole Recipe satisfies completely.
If you are pulling together a casual, comforting weekend buffet for a hungry crowd, this dessert pairs wonderfully alongside fun, family-approved bakes like the tater-tot-topped Cowboy Casserole Tater Tot Recipe or a velvety Simple Mac n Cheese Recipe. If you want a quick, spicy finger-food appetizer to kick off the party spread, set out a tray of crunchy Baked Buffalo Chicken Taquitos Recipe.
Want to create an unforgettable, multi-textured dessert spread for a major celebration? Place this sliceable cake right next to a tray of playful Strawberry Shortcake Sushi Recipe or a warm pan of gooey Peach Pie Cinnamon Rolls Recipe to give your guests the ultimate sweet experience!
Frequently Asked Questions
How do I keep the banana layer from turning brown inside the cake? This is a fantastic question! Because the banana slices are completely trapped beneath the layers of pineapple and cream cheese, they are shielded from direct contact with the air, which naturally slows down oxidation. To ensure maximum freshness, always slice your bananas right when you are ready to layer the dish, and ensure your cream layers extend all the way to the edges of the pan to seal the fruit in.
Can I use fresh pineapple instead of canned crushed pineapple? While fresh pineapple tastes incredible, it contains an enzyme that can break down the proteins in the dairy, causing your cream cheese filling to turn runny over time. Canned pineapple has been heated during the canning process, which neutralizes this enzyme. For a perfectly stable, sliceable cake, canned crushed pineapple is highly recommended!
Can I freeze this banana split cake? Yes, you can! If you prefer a texture that mimics a traditional ice cream cake, wrap the assembled dish tightly in a double layer of plastic wrap and aluminum foil, and freeze for up to 1 month. Slice the cake while it is frozen, and let the individual pieces sit at room temperature for 10 to 15 minutes to soften slightly before digging in.